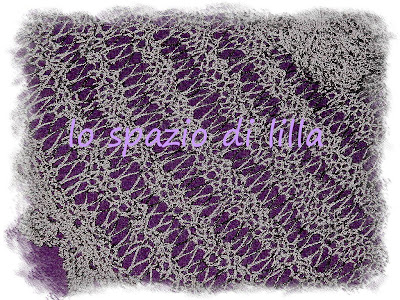
Come promesso, eccovi la spiegazione fotografica per lavorare il punto a maglia allungata, che ho utilizzato per creare
la stola in lurex argento. Per darvi un'altra idea su come utilizzare questo punto, eccovi uno
schema per lavorare una bella maglia in cotone della quale potete vedere un particolare qui sotto...
As promised, here it is the tutorial to show you the knitted drop stitch, I used to knit the lurex stole. To give you another pattern, here there is a gorgeous pull to knit
Questo è il diagramma che ho seguito per la stola...
Here it is the chart...
X= legaccio (ferro a dritto anche sul rovescio) /
garter stitch
I = maglia dritta /
knit
U= un gettato /
yo
Montare le maglie necessarie per il lavoro...
Cast on the needed stitches...
Lavorare alcuni giri a legaccio.
Knit some garter stitches.
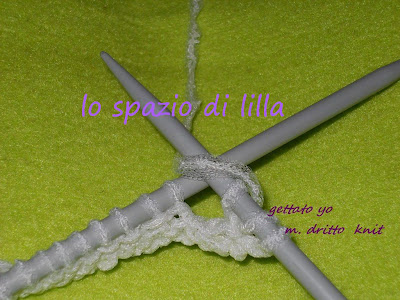
Sul dritto del lavoro, lavoriamo una maglia al diritto ed un gettato fino alla fine delle maglie.
On the front, knit and yo 'till the end of the row.
Voltare il lavoro e lavorare le maglie al rovescio facendo cadere il gettato. Una volta terminato questo ferro, allungare le maglie con la mano per aggiustarle...
Turn, purl and drop each yo. Once you end this row, throw all the stitches down with your hand...
Voltare e lavorare tutto al dritto.
Turn and knit.
Ancora un paio di ferri a legaccio...
Some garter stitches again...
Nell'immagine seguente, vi mostro come varia la lunghezza della maglia in base al numero di gettati fatti...
Come potete constatare, è un punto molto semplice da lavorare e che permette di creare accessori particolarissimi.
In the following pic, I'm showing you the difference between a drop stitch with one yo and a drop stitch with three yo.
Well, it's a very simple stitch that will make you knit very particular accessories...


